

[ad_1]
Colour grading is a necessary step in creating skilled and cinematic FPV drone movies. Whereas LUTs might be handy, they don’t at all times produce the specified outcomes. On this tutorial, we’ll cowl the fundamentals you want to know for creating spectacular cinematic FPV movies, together with GoPro digital camera settings, coloration correction and coloration grading methods.

To get probably the most out of coloration grading, begin by investing in a high-quality motion digital camera. GoPro, Insta360, and DJI are all glorious manufacturers to think about: https://oscarliang.com/action-camera/
Selecting a Video Editor

On this coloration grading information, we’ll be utilizing DaVinci Resolve as our video editor of alternative. It’s free, highly effective, and has all of the options FPV pilots want for enhancing their footage. I extremely suggest it if you’re new to video enhancing.
For a tutorial on getting began with primary enhancing in DaVinci Resolve, try this text: https://oscarliang.com/how-to-use-davinci-resolve/
Optimizing GoPro Settings

To seize professional-quality footage, allow ProTune in your GoPro. This characteristic permits handbook changes for settings like shutter velocity, white stability, flat coloration profile, ISO, stabilization, and sharpness. Utilizing a flat coloration profile helps retain particulars in shadows and highlights, providing extra flexibility for balancing coloration and distinction throughout post-production.
For extra info on one of the best GoPro settings for cinematic FPV, learn this text: https://oscarliang.com/gopro-settings-fpv/
Optimizing DJI O3 Settings
When you use the DJI O3 digital camera as an alternative of the GoPro for filming, listed here are my advisable settings for finest video high quality: https://oscarliang.com/dji-o3-air-unit-fpv-goggles-2/#O3-Air-Unit-Digital camera-Settings
Making use of Stabilization
Earlier than coloration grading, ensure your footage has been stabilized first, it’s going to make it far more nice to have a look at. For GoPro, my alternative of stablization device is Reelsteady, however you may also use Gyroflow, the result’s comparable so don’t stress your self with the selection. For DJI O3, and plenty of different motion cameras with built-in gyro, you possibly can simply use Gyroflow.
Colour Correction
Colour correction goals to realize clear and pure coloration illustration in your footage. It includes fixing publicity, white stability, and saturation. Video editors like DaVinci Resolve supply instruments reminiscent of Waveform, RGB Scope, and Vectorscope that can assist you right these components.
Right here’s uncooked footage.
Modify Publicity
The Waveform device (backside proper of the display) measures mild depth on a scale from 0 (pure black) to 1023 (pure white).

To regulate publicity, find a body in your video the place you’ll take into account crucial second (what we name the hero shot), use this as your reference.
Discover the Three Colour Wheels in your video editor, which include Elevate (adjusts shadows), Gamma (adjusts mid-tones), and Achieve (adjusts highlights).

Rotate the scroll wheel underneath “Elevate” and “Achieve” (these are the darkish and shiny components of your video), and align the black tones with 0 and the white tones with 1023 for optimum publicity. It’s okay to transcend the bounds (or inside) so long as you might be pleased with the way it seems.
Preserve monitoring the Waveform diagram as you play the video to keep away from overexposing or underexposing components of the footage.

Distinction
After setting the highlights and shadows, you possibly can fine-tune the distinction by rising the Distinction worth (Cont).
Optionally you may also barely reducing the midtones utilizing the Gamma scroll wheel – the quantity of adjustment will depend on your expertise and private style.

White Steadiness
To regulate white stability, there are 3 strategies (all positioned on the high left): Auto Steadiness, Colour Picker and manually setting it.

You may give Auto Steadiness a attempt first as a result of it’s the simplest, however it’s additionally the least dependable and I usually don’t use it.
To make use of the colour picker device, you want to choose one thing white within the video as a reference. Once more, it’s a simple technique however it’s not at all times doable to seek out one thing white.
Alternatively, you possibly can manually set the white stability by coming into “Temp” and “Tint” values. A trick I generally use is by wanting on the RGB Scope (Parade) and align the pink, inexperienced, and blue depth ranges. When you scale back Temp, the entire scene will go blue, when you improve Temp the entire scene will go pink. Tint will make the picture look both extra inexperienced or pink.
Nonetheless, in our instance, I used to be filming throughout golden hours, so I intentionally made the footage look extra orange and heat by bumping up the temperature and tint. Auto Steadiness on this case would simply make the picture look a bit extra impartial by decreasing temp, which wouldn’t work in opposition to what I need to obtain right here.
Saturation
For saturation adjustment, you should use the Vectorscope, which measures coloration info. As you improve saturation (Sat), the Vectorscope traces will broaden. Keep away from exceeding the restrict, and purpose for a pure look. In my expertise, a saturation degree of round 60 to 65 typically works properly for many of my GoPro and O3 footage recorded with a flat coloration profile.
I typically have “Colour Enhance” set to 10 to make the colours pop a bit extra.

Sharpness
When you recorded your GoPro movies with low sharpness, you may want to extend it throughout post-production. Values round 0.47 or 0.48 often yield passable outcomes, with decrease values leading to sharper footage.

After Colour correction, the footage seems like this now.
Colour Grading
Colour grading is a inventive course of that enhances the environment and emotion of your video. Through the use of the Three Colour Wheels and Curves, you possibly can create distinctive tones for shadows, mid-tones, and highlights and modify saturation, depth, and coloration in particular areas.
To start coloration grading, add one other node by right-clicking on the present node, deciding on Add Node, and selecting Add Serial.
Three Colour Wheels
One straightforward technique for coloration grading is utilizing the Three Colour Wheels. As talked about earlier, every wheel corresponds to a particular tone: shadows, mid-tones, and highlights. For every tone, you possibly can modify the depth and coloration. Combining reverse colours in shadows and mid-tones can create a extra fascinating look.

Curves
My favorite method to coloration grade is by utilizing the curves. Curves supply a robust method to create distinctive seems by focusing on single coloration ranges and adjusting saturation, depth, and coloration.
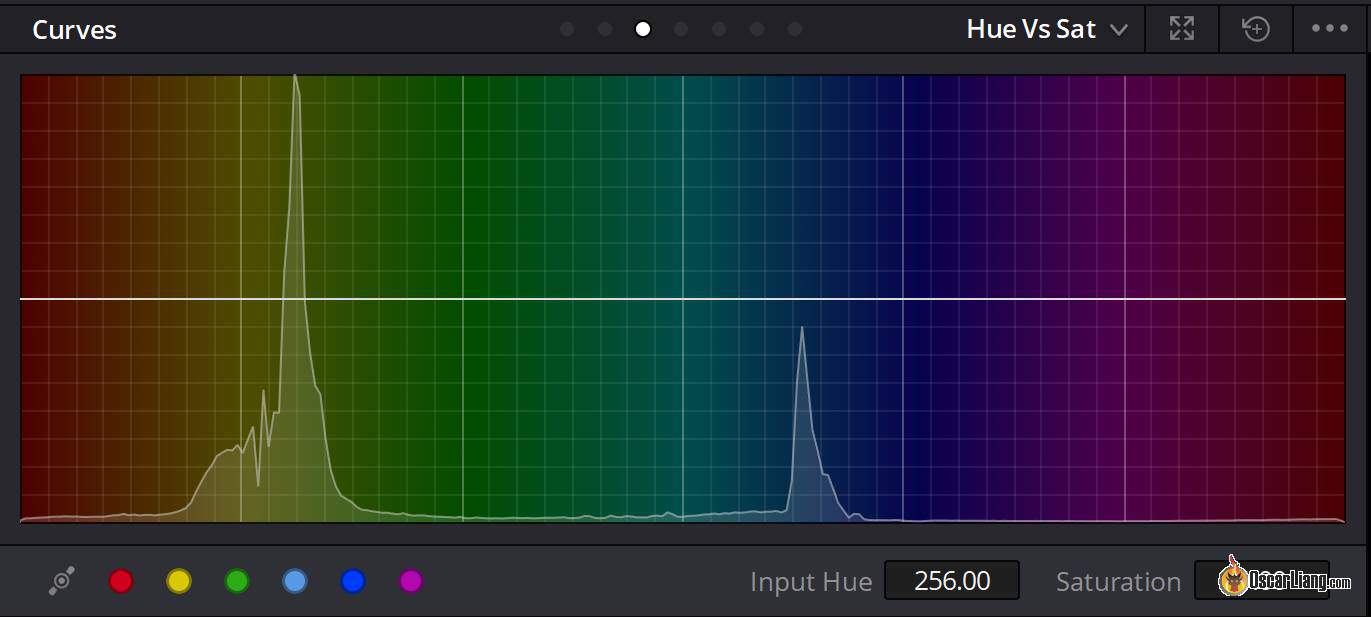
These are the three important Curves I typically use:
- Hue vs Sat: Change the saturation of particular coloration areas (e.g., improve the sky’s saturation by deciding on cyan/blue, or modify the saturation of bushes by deciding on yellow/inexperienced). To change saturation, drag the curve up or down.
- Hue vs Hue: Alter particular colours, to make that coloration look extra inexperienced or purple.
- Hue vs Lum: Modify the brightness of particular coloration areas to additional improve your footage.
For example, you should use Curves to make inexperienced leaves look extra vivid, or to take away coloration tones that you simply don’t like such because the pink in brick partitions. Be inventive and experiment with completely different settings – there’s no proper or fallacious method, because it in the end comes down to private style. Benefit from the technique of discovering what works finest in your FPV drone movies, and create your personal distinctive fashion!

After coloration grading, the footage seems like this:
LUTs
LUTs, or Look-Up Tables, can be utilized along with coloration grading. Your footage might already look nice after coloration grading, however utilizing further LUTs might help spice issues up much more. It’s as much as you whether or not you need to additional improve your footage with LUTs to create a particular look.
First, guarantee correct coloration correction earlier than making use of LUTs as an overlay layer (or further serial node in Davinci Resolve), and modify the opacity to mix with the footage by going to to “Key” part, and reducing the “Achieve” worth. It’s merely a matter of selecting your favourite LUT and clicking to use, so we gained’t go into element right here.
For DJI O3 digital camera, I discover the built-in LUT in Davinci Resolve known as “DJI Phantom4 DLOG2Rec709” a fairly sensible choice. In actual fact I feel most individuals can be glad to simply apply this LUT with out further coloration grading.
Including Grain
We need to keep away from digital noisy grain by reducing ISO, however some grain is definitely pleasing to have a look at. We will add such grain in our video by going to “Settings”, “Movie Grain”, “35mm 400T”, and modify grain measurement to your liking. The distinction is likely to be delicate however it could actually make your video look extra like an expert movie.
Upscaling For Youtube
Lastly, in case your precedence is picture high quality, it is best to positively render your video in 4K, even when it was recorded in a decrease decision. That’s as a result of Youtube retains greater bitrate with greater decision/body price movies. Typically I render my footage in 4K (3840×2160), 65Mbps bitrate.
See this text for extra details about upscaling: https://oscarliang.com/upload-dji-fpv-footage-youtube/
Conclusion
Colour grading is an important facet of making gorgeous {and professional} cinematic FPV movies. By correctly correcting colours and using coloration grading methods, you possibly can considerably improve the visuals of your FPV footage. No matter your flying talent ranges, understanding and making use of these ideas will elevate the standard of your movies and assist you stand out on the earth of FPV filmmaking. So, go forward and experiment with varied coloration grading methods and LUTs to find your distinctive fashion and create breathtaking FPV drone movies.
Edit Historical past
- Could 2023 – Tutorial created.
- Apr 2024 – Up to date.
[ad_2]